Eight E-Verify Instructions
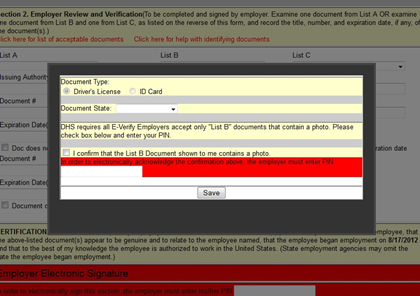
In a new hire on the I-9, this screen will pop up when you select a document from List B. Because of E- verify, on List B you are only allowed to accept a document that contains a picture identification. You will be given the option to select others but according to E-verify you cannot use those any more.
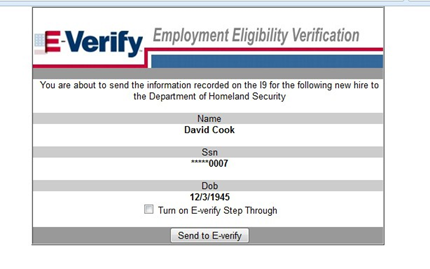
Once you submit the I-9, this screen will pop up letting you know that it is about to send the information to E-Verify. Click the Sent to E-verify button.
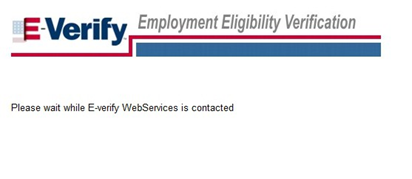
This screen may pop up letting you know it is processing. Be patient and allow the screen to refresh.
If all of the information is correct, you will receive a screen that looks like this if you entered a List B and List C document, it is the Employment Authorized response:

Click the return button and you will be moved forward to the next form that is part of your new hire task. This is how must of your cases will function.
FYI:
Once the employment is authorized, this document will directly follow the I-9 in Tracking in an Employee Profile.

If you entered in the wrong information combination, ie: social security number, legal name on social security card, and birthdate, then you will receive a non-confirmation or no-match. E- verify will instantly give the option to correct some of the information.
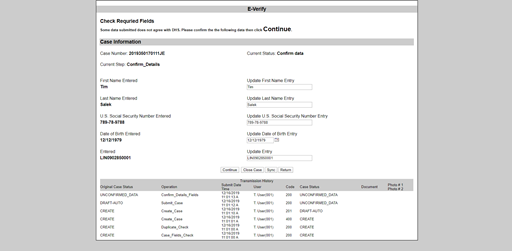
Please review the information with the employee to insure what was entered in wrong. Make the correction within that screen and then press “Continue”.
If that corrected the problem, you will pick up on the screen at the middle of page 2. Proceed forward using the next steps from that point.
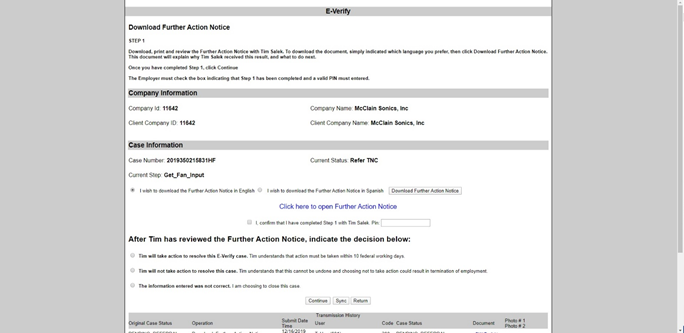
If that didn’t correct the problem you will come to this screen, in which you will need to select in which language the employee would like to read their Further Action Notice, and then click the “Download Further Action Notice” button.

Check the box confirming that you have completed Step 1, enter your PIN, indicate the new hire’s decision and click the “Continue” button.
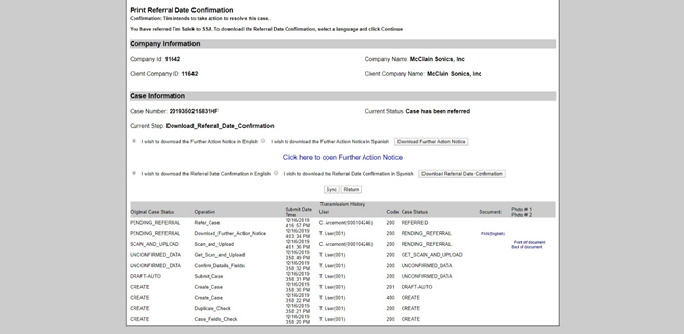
At this point you are finished with the case for the time being. You then need to click on the “Return” button, which will take you to the next form of the new hire task.
Some Other Possible Screens and Steps
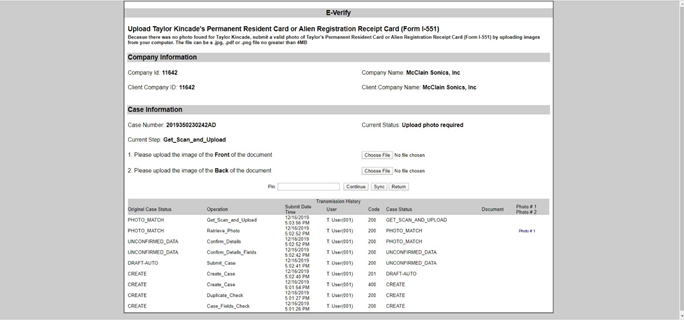
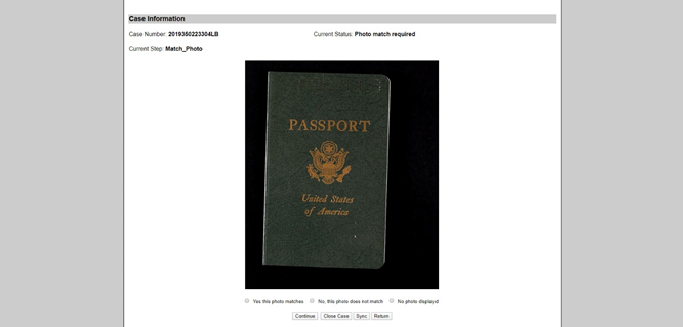
Photo Match is required when the new hire provides a List A document. You will see a screen like the one below. You will need to answer the question: “Does the photo displayed match the photo displayed on the document presented to you. After making your selection, click the “Continue” button.
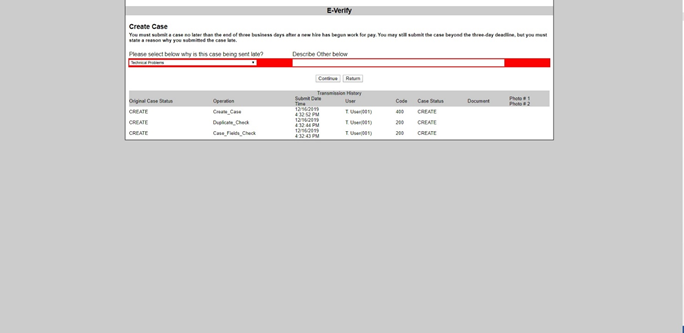
Late Case Submission will arise first if the case is submitted more than three days after the hire(effective) date. On this screen, select a reason from the drop-down menu under “Please select below” and then click Continue.
Duplicate Case Notification can arise if an E-verify Case was recently completed for this new hire. If the current case was entered in error, you can simply click Return. In order to delete this case you must have the proper credentials. If you wish to continue with this case you must enter a reason for continuing the case then click Continue.
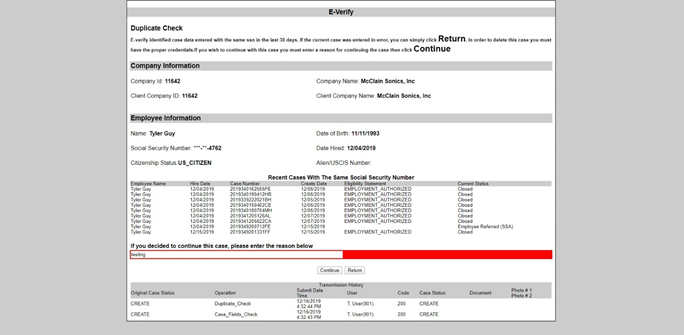
Photo Does Not Match, the next screen will ask you to upload the front and back of the document that was presented to you. You will need to click on the “Choose File” button for both, enter your PIN, and then click on the “Continue” button.